10 Things I Learned From Fighting As A Lone Wolf (Successful Solo Play in ME3 MP)
My hunt to complete the Solo Mastery challenge began with many failed attempts. The prized “Lone Wolf” banner lets everyone know you’re a skilled enough player to extract while playing completely alone on Bronze difficulty 10 times, Silver 5 times, Gold twice, or Platinum once. Achieving this banner is very gratifying, and I learned a great deal in the process that might help you obtain it, too, if you haven’t already. (And before you ask: there aren’t any BioWare cheats. I had to complete the challenge fair and square just like you.)
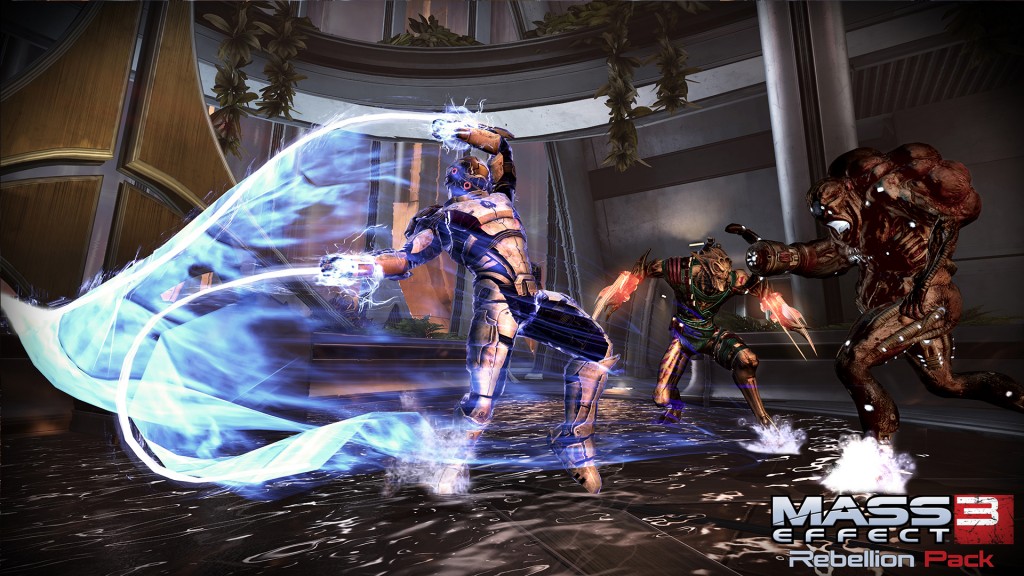
10. Know Thy Class
First, pick your class and character wisely. Ideally, this will be your go-to class, the one you are most comfortable with. (My personal recommendation is to spec an Infiltrator for duration-based cloaking. Infiltrators can put out a great deal of damage, make retreats, and achieve objectives more easily thanks to their tactical cloaks. Still, you can be a hero using any class.)
The two classes I used were Turian Ghost and Geth Infiltrator. I split the challenge between these classes, alternating after each solo run to keep my play style interesting and varied. My builds were:
Turian Ghost: Built for survivability and weapon damage.
– Wraith Shotgun: Barrel V, Armor Piercing V, Disruptor rounds III
*I alternated between these weapons after each round*
– Geth Plasma Shotgun: Barrel V, Spare Thermal clip, Disruptor rounds III
*Note: The guaranteed staggers off the GPS can prove to be a life saver in close combat*
– Acolyte: Barrel V, Pistol Magazine Upgrade V
– Warfighter Package: II: For Extra grenades
Stim Pack: Fully evolved –
– Evolve 1: Damage
– Evolve 2: Pack Capacity
– Evolve 3: Weapon damage
Overload: Rank 3
Tactical cloak: Fully Evolved
– Evolve 1: Duration
– Evolve 2: Recharge Speed
– Evolve 3: Bonus Power – for overload blasts
Armiger Legion:
– Evolve 1: Damage and Capacity
– Evolve 2: Headshots
Fitness: Fully evolved
– Evolve 1: Durability
– Evolve 2: Shield recharge
– Evolve 3: Fitness Expert
Geth Infiltrator:
– Geth Plasma Shotgun: Barrel V, Spare Thermal clip, Disruptor rounds III
– Geth SMG: Barrel V, SMG Heat sink V
– Shotgun Amp III: Pure damage
Prox Mine: Fully evolved –
– Evolve 1: Damage
– Evolve 2: Damage Taken
– Evolve 3: Damage
Tactical cloak: Fully Evolved
– Evolve 1: Duration
– Evolve 2: Recharge Speed
– Evolve 3: Bonus Power
Hunter Mode: Fully evolved
– Evolve 1: Power Recharge – Prox spam
– Evolve 2: Power Damage
– Evolve 3: Damage
Networked A.I.: Fully evolved
– Evolve 1: Weapon Damage
– Evolve 2: Power Damage
– Evolve 3: Weapon Damage
Fitness: Ignored
9. Start With Bronze
Before you solo Silver, you should comfortably be able to complete any Bronze level on any map without using any consumables. Multiple times.
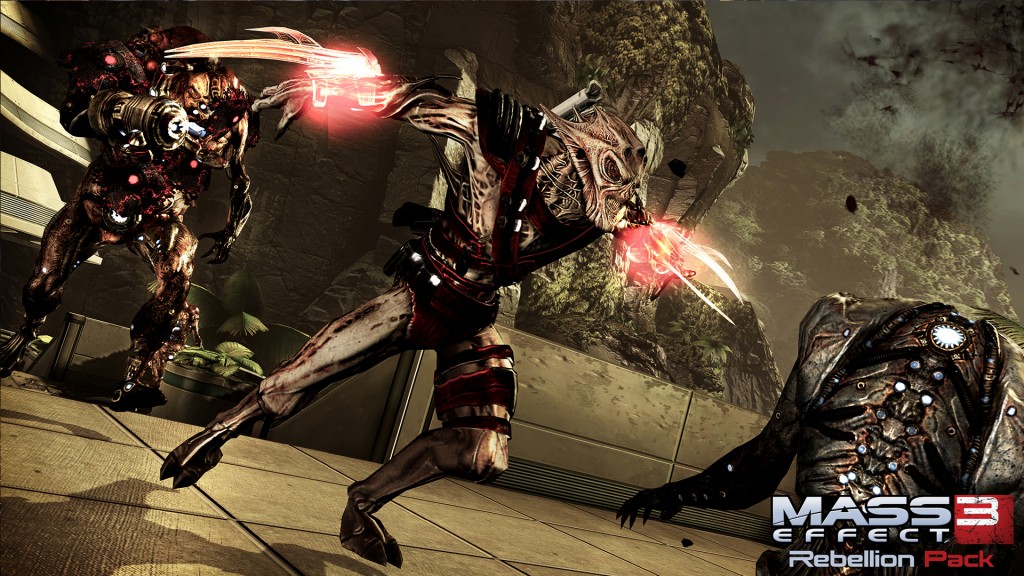
8. Pick The Right Map and Faction
After you’ve completed Bronze ten times, bump it up Silver. It’s time to pick a map and a faction. The map you pick now will be the one you finish this challenge with: you should know every nook, cranny, escape route, and enemy spawn location.
My map recommendations are:
Firebase Ghost
Pros: This is where I completed my solo runs. It’s a big map with many line-of sight-breakers and escape routes. The ladder off the med bay is great for kiting enemies and escaping from big creatures. Objectives are often spread out, so you can lose enemies easily.
Cons: Enemies can spawn inside buildings, out of sight, so you may accidentally happen into a monster party. The map’s size also makes some objectives tricky to complete, and it’s fairly easy to get backed into corners.
Other recommendations: Firebase Giant, Firebase Hydra, Firebase White
Using larger maps makes it easier to keep pressure off of you and pull enemies away from objectives.
I chose the Geth for my faction; they’re the hardest enemy to trade shots with, but because they lack instant kills, I feel they’re the “easiest” to solo against.
7. Know Thy Enemy
Once you’ve decided on your map and enemy type, it’s time to get to work. Recognizing the patterns of each creature and noting each faction’s strengths and weaknesses is important. For example: A Hunter decloaks before it attacks—that’s your chance to evade out of there; pay attention to how many shots a Ravager can take before cooldown—your time to strike is right after that last shot.
Geth
Strengths: Have the best long-range firepower of any faction. They can stun a player who is caught out of cover. They rush in on you fast, so hunkering down is tough.
Weaknesses: The slowest-moving faction; usually arrive in predictable waves (Bomber, Hunter, Pyro, and Prime). Do not have insta-kills.
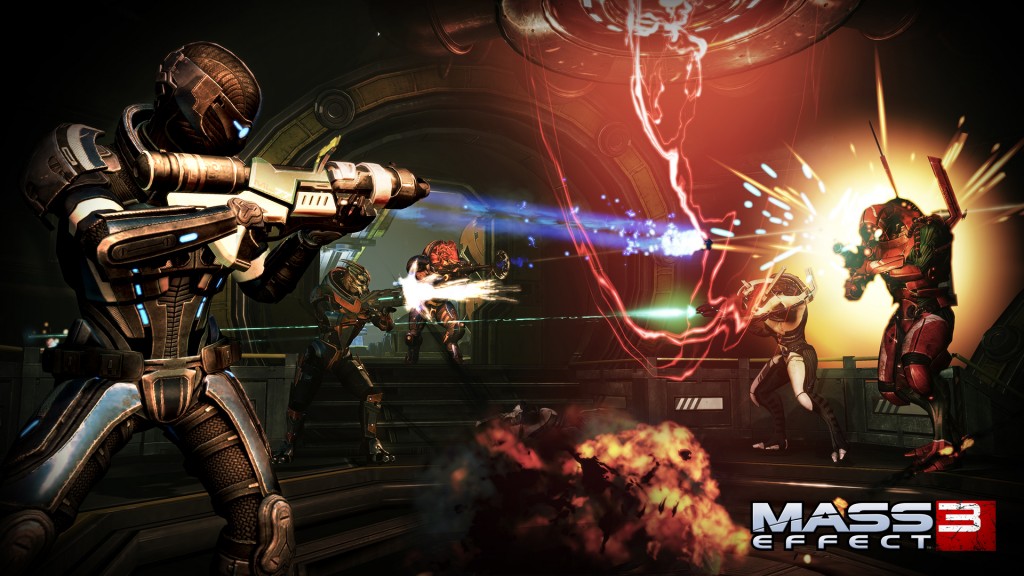
Cerberus
Strengths: Very effective at mid-range fighting; Phantoms and Dragoons are deadly for a solo player. Turrets can easily control entire sections of the map and catch you off guard.
Weaknesses: Most of the faction is squishy and easy to kill; Phantoms and Dragoons are the only members of this faction that rush in fast.
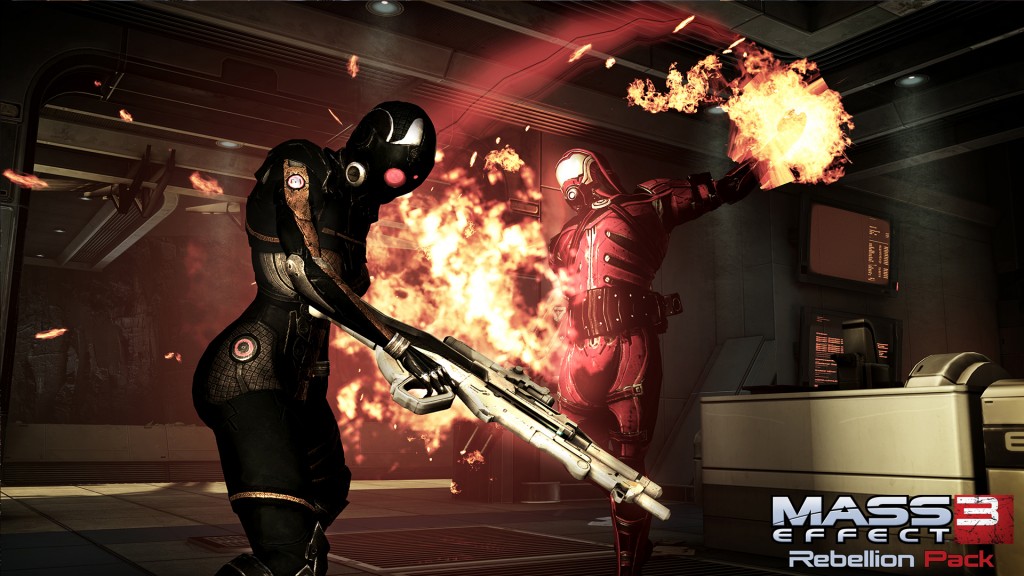
Reapers
Strengths: Lots of monstrous creatures, heavy armor. Heavy pressure keeps you moving all the time. A Banshee’s insta-kill is deadlier than ever when you’re alone. The Husks + Ravager combo can take you down faster than you can escape the sync.
Weaknesses: Has the weakest firepower of any faction. The Banshee is very audible; if you respect her and listen, she’s easy to avoid.
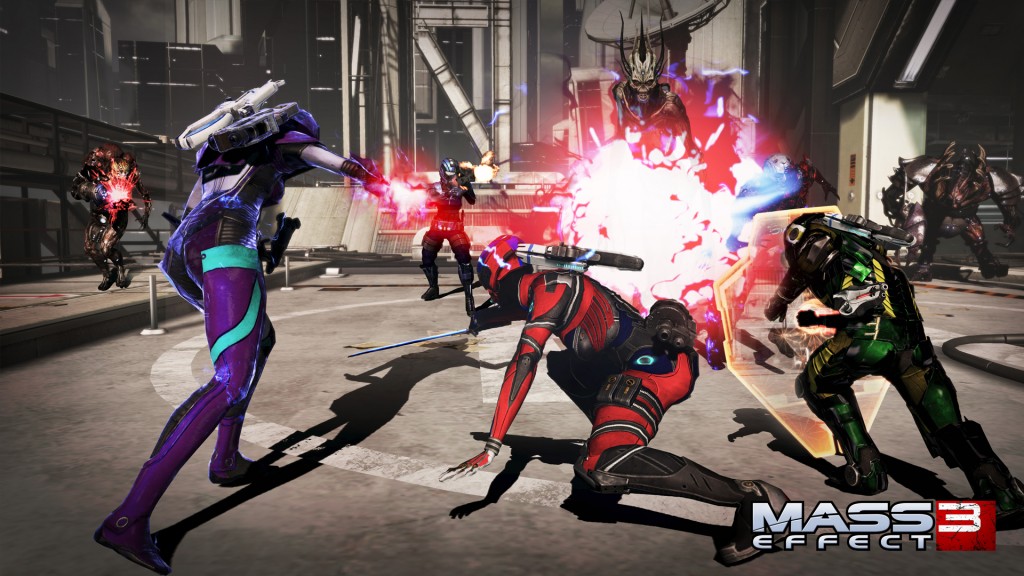
Collectors
Strengths: Collectors are a solo nightmare. They have good firepower, rush at you quickly, and have great space control. If you want a true solo challenge, give them a try.
Weaknesses: The Collectors are a “jack of all trades” faction: decent at everything, but great at nothing. If you keep on the move, you can wear them down.
6. Watch The Spawns
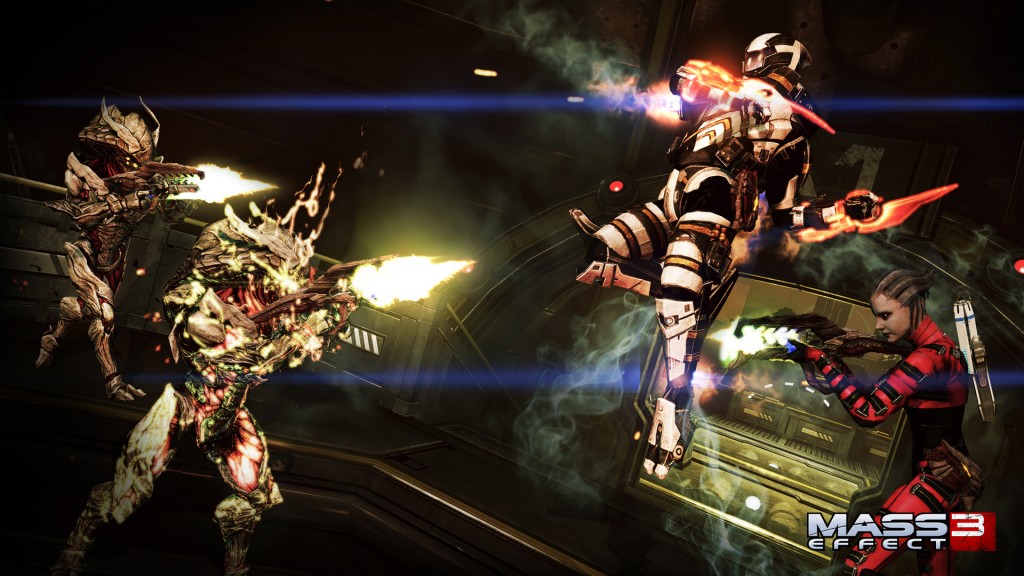
Knowing where and when the enemy is going to spawn is key; keep your head on a swivel, and when a round ends, do not move unless you’re in a vulnerable position. Wait for the enemies to spawn—you don’t want to run into a room and be greeted by two Geth Primes with siege weapons.
5. Cherish Thy Consumables
I cannot stress this enough: Only use your consumables when absolutely necessary. In my last Gold solo, Kill Targets was my objective for Waves 3 and 10. If I had not saved my rockets and Survival Ops packages, I would have been doomed.
4. Always Keep Moving, Keep Your Back to the Wall, and Use Cover
When soloing, you should always be on the move. If you’re getting overwhelmed, know when the odds are on your side and when it is time to retreat. Try to keep your back to walls so Phantoms or Hunters don’t sneak up on you. When fighting heavy firepower units like Ravagers, Scions, or Primes: take cover, watch, and wait for their firing patterns to cease.
3. Live to Fight another Day
Try not to get flashy. One bad mistake can make your solo end very abruptly, so always be prepared to make a tactical retreat. Pick off smaller threats while pulling the bigger ones away.
2. Oh, My! Objectives
Always be prepared for objectives to go bad. Save your rockets and be ready to stop some objectives midway through. Kite enemies to the other side of the map, then resume your objective when the area is clear. If you push objectives when they’re going badly, you’ll get yourself killed and use up very valuable medi-gel in the process.
1. Control The Space
Finally, controlling your space is of the utmost importance! Position yourself against line-of-sight breakers as you fight in a direction. Sometimes the long way around is the right way around. Always be completely aware of your surroundings and the incoming threats. You have to react and make appropriate decisions based on the enemy and its abilities and threat range. (If you see a Pyro or a Phantom, don’t run up and melee them.)
I hope this helps your hunt for solo mastery. It’s very challenging but extremely gratifying to achieve. Happy Hunting!
Corey Gaspur
Lead Combat Designer, Mass Effect Franchise